How to Take Stunning Snowboarding Photos and Videos
23 November 2024
Capturing the thrill of snowboarding in photos and videos can be just as exhilarating as the ride itself. Whether you're carving through fresh powder, catching air off a massive jump, or just cruising down the slopes, you want your shots to reflect the excitement and beauty of your experience. But let’s be real: not every snowboarding photo or video turns out epic. Sometimes they’re blurry, sometimes they're washed out, and sometimes they just don’t capture the vibe at all.
So, how do you take stunning snowboarding photos and videos? Well, grab your gear, because I’m about to break down some tips and tricks that will have you shooting like a pro in no time. From camera settings to perfecting your timing and composition, let's get into it.
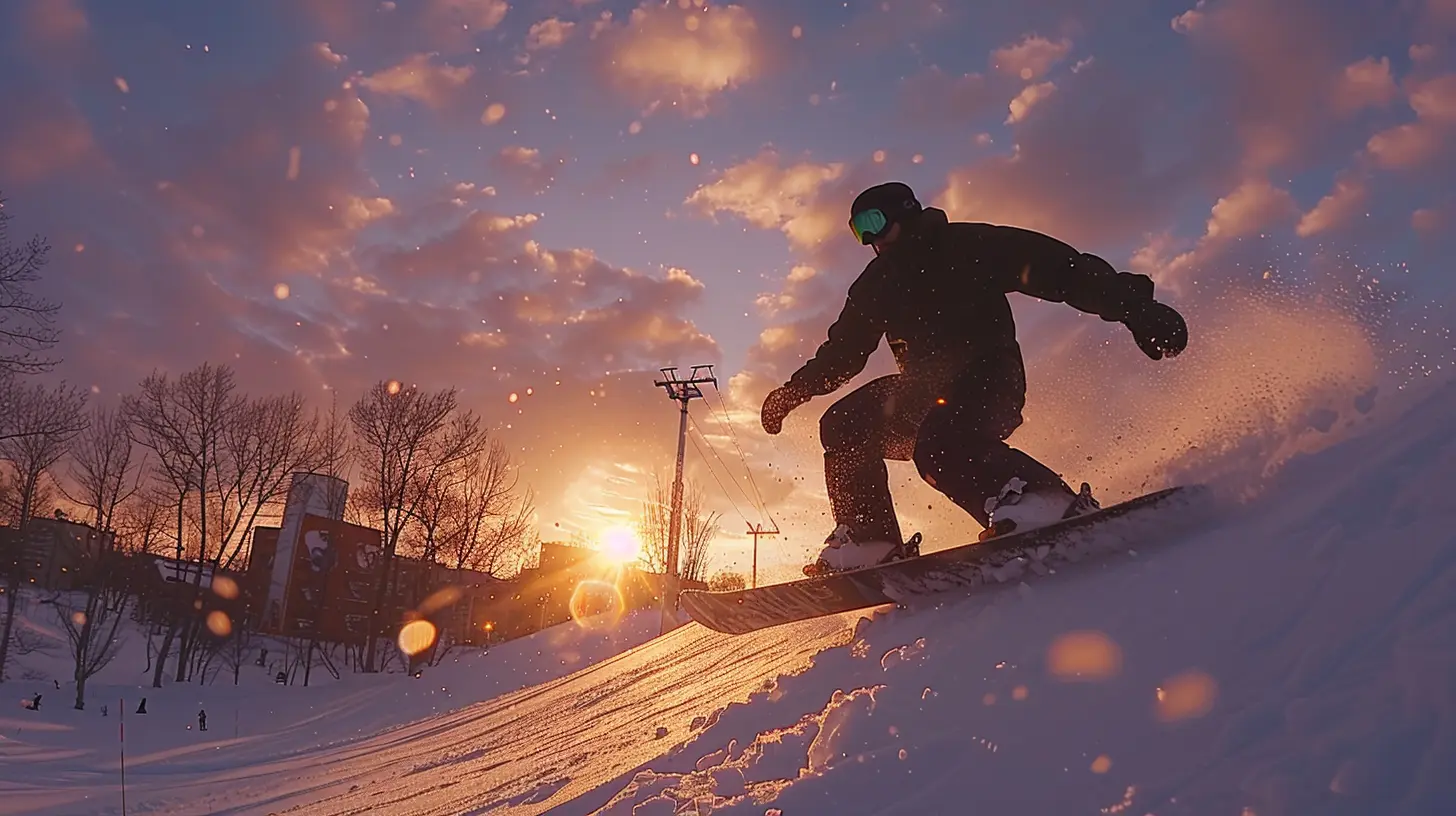
1. Choose the Right Gear for Snowboarding Photography and Videography
First things first: you need the right equipment. Let's talk about cameras, lenses, and accessories.Cameras
You don’t need a $5,000 DSLR to take awesome snowboarding shots. Sure, high-end gear helps, but today's action cameras like the GoPro Hero series, DJI Osmo Action, or even a solid smartphone with manual controls (hello, iPhone 14 Pro or Samsung Galaxy S22 Ultra) can do wonders. These cameras are built to handle tough conditions like snow, moisture, and cold, making them perfect for the slopes.However, if you’re aiming for more professional-quality photos, a DSLR or mirrorless camera will give you more control over your settings. Look for models that are great in low-light conditions and have fast autofocus, such as the Sony A7 series or Canon EOS R5.
Lenses
For more advanced shooters, lens selection is key. A wide-angle lens (think 16-35mm) is perfect for capturing the vastness of the mountains and those epic action shots. If you're aiming for close-ups or want to compress the background to make the rider pop, consider a telephoto lens (70-200mm). Don’t forget to bring lens cleaning kits or wipes—snow and water can fog up your lens real quick.Accessories
A tripod or monopod is useful for steadying your shots, especially in low-light situations. If you're shooting on the move, a gimbal will keep your footage smooth and professional looking. Don’t forget extra batteries—the cold drains them faster than you’d expect.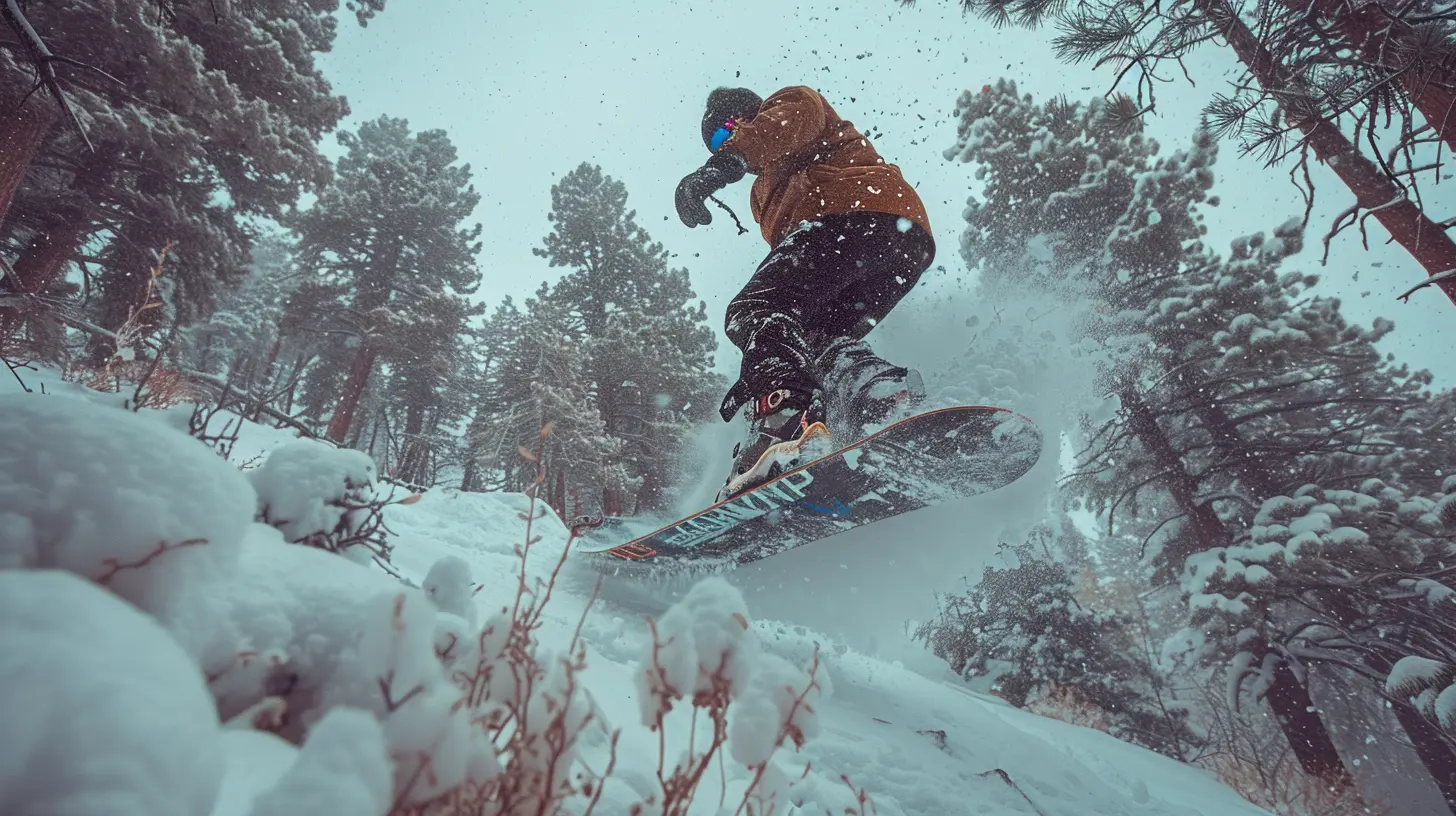
2. Master Your Camera Settings
Whether you're using a smartphone, action camera, or DSLR, understanding your camera settings is essential for capturing high-quality snowboarding photos and videos.Shutter Speed
To freeze the action (which, trust me, you’ll want to do), you'll need a fast shutter speed. Aim for at least 1/1000th of a second for action shots. If you’re going for something more artistic like motion blur, you can slow it down to around 1/250th of a second, but be aware that this requires more precision in timing.Aperture
If you're using a DSLR or mirrorless camera, aperture is another setting to keep an eye on. A wider aperture (lower f-stop, like f/2.8) will give you that beautiful background blur (bokeh) and let more light in, while a narrower aperture (higher f-stop, like f/8 or f/11) will keep both the rider and the background in focus.ISO
Snow reflects a lot of light, so you can usually keep your ISO low—around 100 to 400. This will minimize noise and give you sharper images. However, when the light drops (like when you’re shooting during golden hour or on a cloudy day), you might need to bump up the ISO, just be cautious of introducing too much grain.White Balance
Snow can trick your camera's white balance into making everything look too blue or too yellow. Use a manual white balance setting or a preset like “snow” or “cloudy” to ensure your shots have the correct color tones.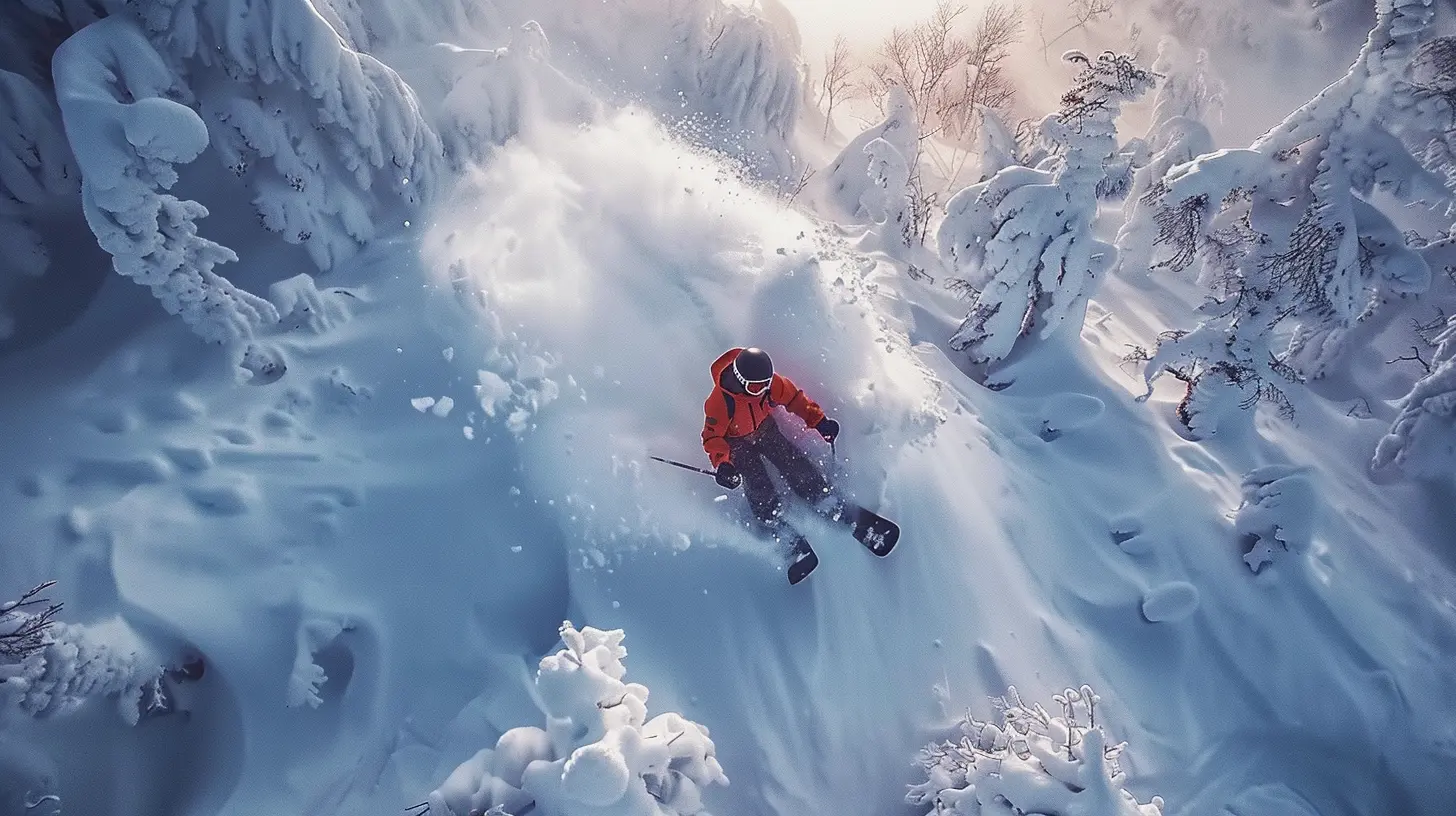
3. Consider Composition: Think Beyond the Rider
It’s easy to get tunnel vision and focus only on the snowboarder, but don’t forget about the whole scene. The surrounding mountains, trees, and sky can add drama and context to your shot. Here are a few composition tips to keep in mind:Rule of Thirds
The rule of thirds is a classic for a reason. Imagine your frame divided into nine equal parts with two horizontal and two vertical lines. Position your subject (the snowboarder) along these lines or at the intersections for a more balanced and dynamic shot.Leading Lines
Use the natural lines within the landscape—like the slope of the mountain, the path of the snowboarder, or even tracks in the snow—to lead the viewer’s eye towards your subject. This creates a sense of depth and movement in your photos.Frame Within a Frame
Look for natural elements, like trees or rocks, to create a “frame within a frame” effect. This adds a more artistic and layered composition to your shots.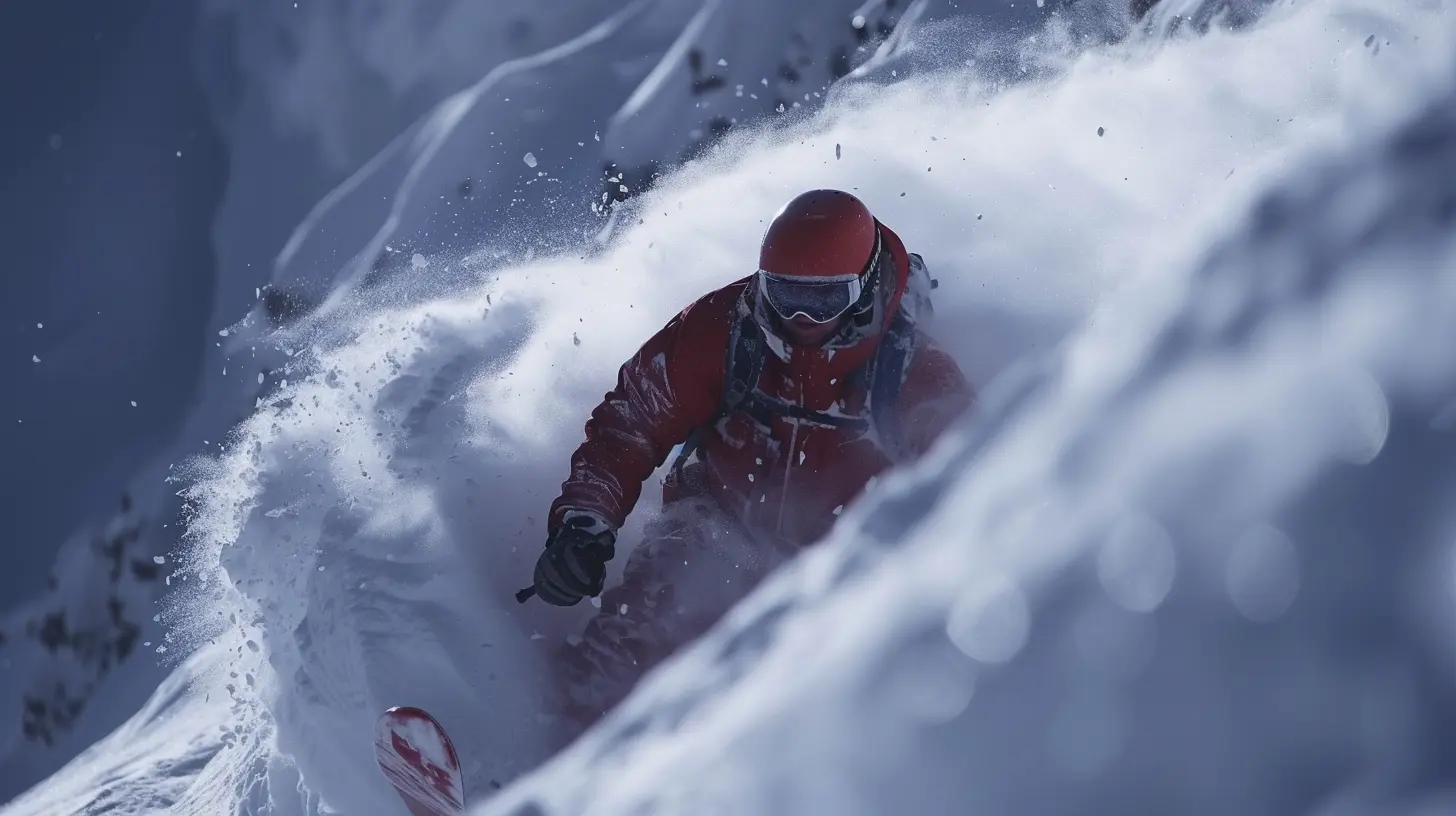
4. Timing is Everything: Capture the Peak of the Action
Ever wonder why some photos look so much more dramatic than others? It’s all in the timing. You want to capture the peak of the action—when the snowboarder is hitting a jump, carving through turns, or spraying powder. Here’s how you can nail the timing:Burst Mode
If your camera has a burst mode, use it! This setting allows you to take multiple photos in rapid succession, so you don’t miss the perfect moment. Action happens fast in snowboarding, and burst mode helps you capture a series of shots from which you can choose the best one.Anticipate the Action
To get that epic shot, you have to anticipate what’s going to happen. Watch the rider closely and learn to predict when they’re about to hit the jump, make a sharp turn, or catch some air. This takes practice, but once you get the hang of it, you’ll start capturing those jaw-dropping moments more consistently.5. Lighting: Learn to Work with Snow’s Natural Reflectivity
Snow is a natural reflector. It bounces light all over the place, which can be both a blessing and a curse. Here's how to use lighting to your advantage:Overcast Days
Believe it or not, cloudy days are fantastic for snowboarding photography. The clouds act like a giant softbox, diffusing the light evenly and reducing harsh shadows. This is especially important when you're shooting against a bright, white background like snow.Golden Hour
The golden hour—right after sunrise or just before sunset—is the best time to shoot if you want that warm, soft glow. The light during this time is less harsh and gives your photos a magical quality.Avoid Midday Sun
Midday sun can create harsh shadows and make the snow too bright, leading to overexposed photos. If you’re shooting during the middle of the day, try to position the sun behind the rider to create a backlit effect. This can highlight the snow they’re kicking up and create a cool silhouette.
6. Angles and Perspectives: Get Creative with Your Shots
If all your shots are from the same angle, they’re going to get boring fast. Experiment with different perspectives to add variety and excitement.Low-Angle Shots
Getting low to the ground can make the snowboarder look larger than life, especially when they’re in the air. Try crouching or even lying on the snow to capture the rider from below.Follow-Cam
For videos, using a follow-cam technique (where you follow the rider down the slope with a handheld camera or gimbal) can create a dynamic, first-person perspective. Just make sure you're comfortable riding with a camera in hand!Drone Shots
If you're able to, drone footage adds a whole new level to your snowboarding videos. The aerial perspective lets you capture the entire landscape and the rider’s path down the mountain. It’s like seeing the action from a bird’s-eye view.7. Editing: Bring Your Photos and Videos to Life
After capturing your shots, it’s time to edit. Editing can take your photos and videos from good to stunning. Here's how to get the most out of your footage:Photo Editing Tips
Use software like Adobe Lightroom or Capture One to enhance your snowboarding photos. Focus on adjusting exposure, contrast, and colors to make the image pop. Be careful not to over-edit, though—you want your photos to look natural, not artificial.- Exposure: Snow can sometimes trick your camera into underexposing the shot. Use the exposure slider to brighten things up.
- Contrast: Boosting contrast can make the snow look crisper and the rider stand out more.
- Saturation: Snowboarding is a colorful sport! Boost the saturation to make those bright jackets and boards pop against the white snow.
Video Editing Tips
For videos, programs like Final Cut Pro or Adobe Premiere Pro will give you the tools to create professional-quality edits. Focus on cutting out unnecessary footage, adding music that matches the vibe, and applying color correction to ensure consistency across your clips.- Slow motion: Use slow motion to emphasize big tricks or turns.
- Transitions: Keep transitions simple—cuts, fades, and cross dissolves work best.
- Music: Choose music that matches the energy of the ride. Syncing up the beat with the action adds a polished touch.
Final Thoughts
Taking stunning snowboarding photos and videos is a mix of skill, creativity, and a little bit of luck. By choosing the right gear, mastering your camera settings, and paying attention to composition and timing, you'll be well on your way to capturing epic shots that truly reflect the excitement of the sport. And remember, practice makes perfect—so get out there, have fun, and keep experimenting!all images in this post were generated using AI tools
Category:
SnowboardingAuthor:

Fernando Franklin
Discussion
rate this article
19 comments
Zevan Beck
Perfect tips for capturing winter's thrill effectively!
February 3, 2025 at 8:14 PM

Fernando Franklin
Thank you! I'm glad you found the tips helpful for capturing the excitement of winter sports! Happy shooting!
Rose McDougal
Capturing stunning snowboarding shots requires the right angles, natural light, and a keen eye for action. Experiment with settings for dynamic, memorable visuals!
January 31, 2025 at 3:51 AM

Fernando Franklin
Absolutely! The right angles and lighting make all the difference in capturing the thrill of snowboarding. Experimentation is key to finding those dynamic shots!
Zanthe McAnally
Great tips! Focusing on natural light and capturing action shots can truly elevate your snowboarding photography. Can't wait to try these techniques myself!
January 27, 2025 at 9:20 PM

Fernando Franklin
Thank you! I'm glad you found the tips helpful—excited to see your snowboarding photos!
Wynter McCollum
Great article! Your tips on capturing snowboarding moments are incredibly helpful. I particularly loved the advice on lighting and angles. Can't wait to try these techniques on my next trip. Keep up the fantastic work!
January 22, 2025 at 1:06 PM

Fernando Franklin
Thank you so much for your kind words! I'm glad you found the tips helpful. Enjoy capturing those amazing moments on your next trip!
Blaine Lane
Great article! Your tips on lighting and angles for snowboarding photography are spot-on. I especially appreciated the advice on using action shots to capture movement and energy. Can't wait to try these techniques during my next trip!
January 12, 2025 at 9:10 PM

Fernando Franklin
Thank you for your kind words! I'm glad you found the tips helpful—can't wait to see your amazing shots from your next trip!
Kristen Fry
This article offers excellent tips for capturing breathtaking snowboarding photos and videos. Focus on natural lighting, use fast shutter speeds for action shots, and explore unique angles. Incorporating these techniques will enhance your winter sports photography, making every snowboarding moment memorable!
January 8, 2025 at 1:41 PM

Fernando Franklin
Thank you for your feedback! I'm glad you found the tips helpful for enhancing snowboarding photography. Happy shooting!
Zachary McGrady
Great tips! Capturing the thrill of snowboarding is all about the right angles and lighting. I can't wait to try out these techniques on my next trip! Those stunning shots will definitely bring back the adrenaline rush long after the ride.
January 4, 2025 at 5:56 AM

Fernando Franklin
Thank you! I’m excited for you to try these techniques—can’t wait to see your stunning shots! Enjoy your trip!
Lydia Vaughn
Master lighting and angles for dynamic shots that capture snowboarding's thrill beautifully!
December 31, 2024 at 7:15 PM

Fernando Franklin
Absolutely! Mastering lighting and angles is key to showcasing the excitement and beauty of snowboarding. Thanks for your insight!
Xavier McQuillen
Great tips! Capturing the thrill of snowboarding requires the right angles and lighting. Can't wait to try these techniques!
December 27, 2024 at 12:13 PM

Fernando Franklin
Thank you! I'm glad you found the tips helpful. Enjoy capturing those epic moments on the slopes!
Jax Jordan
Capturing joy in every turn!
December 24, 2024 at 12:39 PM

Fernando Franklin
Absolutely! Capturing those joyful moments is key to stunning snowboarding shots!
Kenna Hill
Stunning snowboarding shots? Please, it’s all about the vibe! Get that action, add some flair, and let your inner pro shine—no filters needed!
December 19, 2024 at 9:06 PM

Fernando Franklin
Absolutely! Capturing the vibe is key—action and flair truly elevate your shots. Let your passion shine through!
Shannon Torres
Capture the thrill of snowboarding like never before! Embrace the beauty of winter landscapes and the adrenaline of the ride. Remember, the perfect shot combines timing, creativity, and passion. Don’t just ride the slopes—freeze your unforgettable moments in time. Get out there, and let your adventures shine!
December 13, 2024 at 9:15 PM

Fernando Franklin
Thank you! I absolutely agree—capturing the essence of snowboarding is all about blending creativity with the thrill of the ride. Excited to share tips that will help everyone preserve their unforgettable winter adventures!
Nolan Taylor
Great tips for capturing moments!
December 1, 2024 at 8:37 PM

Fernando Franklin
Thank you! I’m glad you found them helpful! Enjoy capturing those moments!
Reid Harper
Catch the thrill and chill! Remember, it’s all about the angle—whether you’re capturing epic jumps or hilarious falls, every shot tells a snowy story! 🏂📸❄️
November 28, 2024 at 7:57 PM

Fernando Franklin
Absolutely! The right angle can transform your snowboarding shots into captivating stories. Happy shooting! 🏂📸❄️
Sonya McConnell
Great tips for capturing the thrill of snowboarding! I especially loved the advice on lighting and framing. Excited to try these techniques on my next snowy adventure!
November 28, 2024 at 4:07 AM

Fernando Franklin
Thank you! I’m glad you found the tips helpful. Can't wait to see your snowy adventure shots!
Craig Young
Great tips on capturing the thrill of snowboarding! I’d suggest experimenting with different angles and lighting to enhance your shots. Also, consider using a polarizing filter to reduce glare on the snow. Can't wait to see everyone’s stunning winter adventures unfold through their lenses!
November 26, 2024 at 1:37 PM

Fernando Franklin
Thank you for the suggestions! Experimenting with angles, lighting, and using a polarizing filter can definitely elevate our winter photography. Can't wait to see the amazing shots everyone captures!
Mabel McKeehan
Great tips! Capturing the thrill of snowboarding will inspire many to hit the slopes!
November 24, 2024 at 8:17 PM

Fernando Franklin
Thank you! I'm glad you found the tips helpful. Happy shooting and shredding! 🏂📸
Astranor Maddox
Absolutely loved this article! 🏂📸 The tips on capturing those epic snowboarding moments are spot on. Can't wait to hit the slopes and try them out!
November 23, 2024 at 9:05 PM

Fernando Franklin
Thank you so much! I'm glad you found the tips helpful. Enjoy your time on the slopes! 🏂📸
Wren Warren
Capture the rush, where snowflakes dance—each frame a fleeting winter romance.
November 23, 2024 at 11:57 AM

Fernando Franklin
Thank you! Embracing the beauty of winter adds magic to every capture. Happy shooting!
MORE POSTS

Avoiding Ticket Scams: What Every Sports Fan Should Know

Fueling Your Game: The Role of Carbohydrates in Athletic Performance
How to Build a Pre-Game Routine That Reduces Injury Risk

The Power of a United Locker Room: Team Chemistry in National Squads
Top Goalkeeping Techniques to Level Up Your Game

How to Properly Use Resistance Bands for Injury Recovery
Soccer vs. Football: Understanding the Global Terminology Debate

The Best Ways to Get Early Access to Sports Tickets

The Impact of Football Fans on Team Performance
The Top Basketball Shoes for Maximum Performance on the Court

The Rise of Small-Ball Lineups in the Modern NBA

Best Drills to Improve Your Golf Accuracy